
Aliosha Build Guide: ER, Weapons, Artifacts & Teams
Aliosha's ER requirements, best weapons, artifact sets, and Stellar Conduct teams. 70-cost Burst, 5 Electro particles per Skill, and why C6 changes everything.
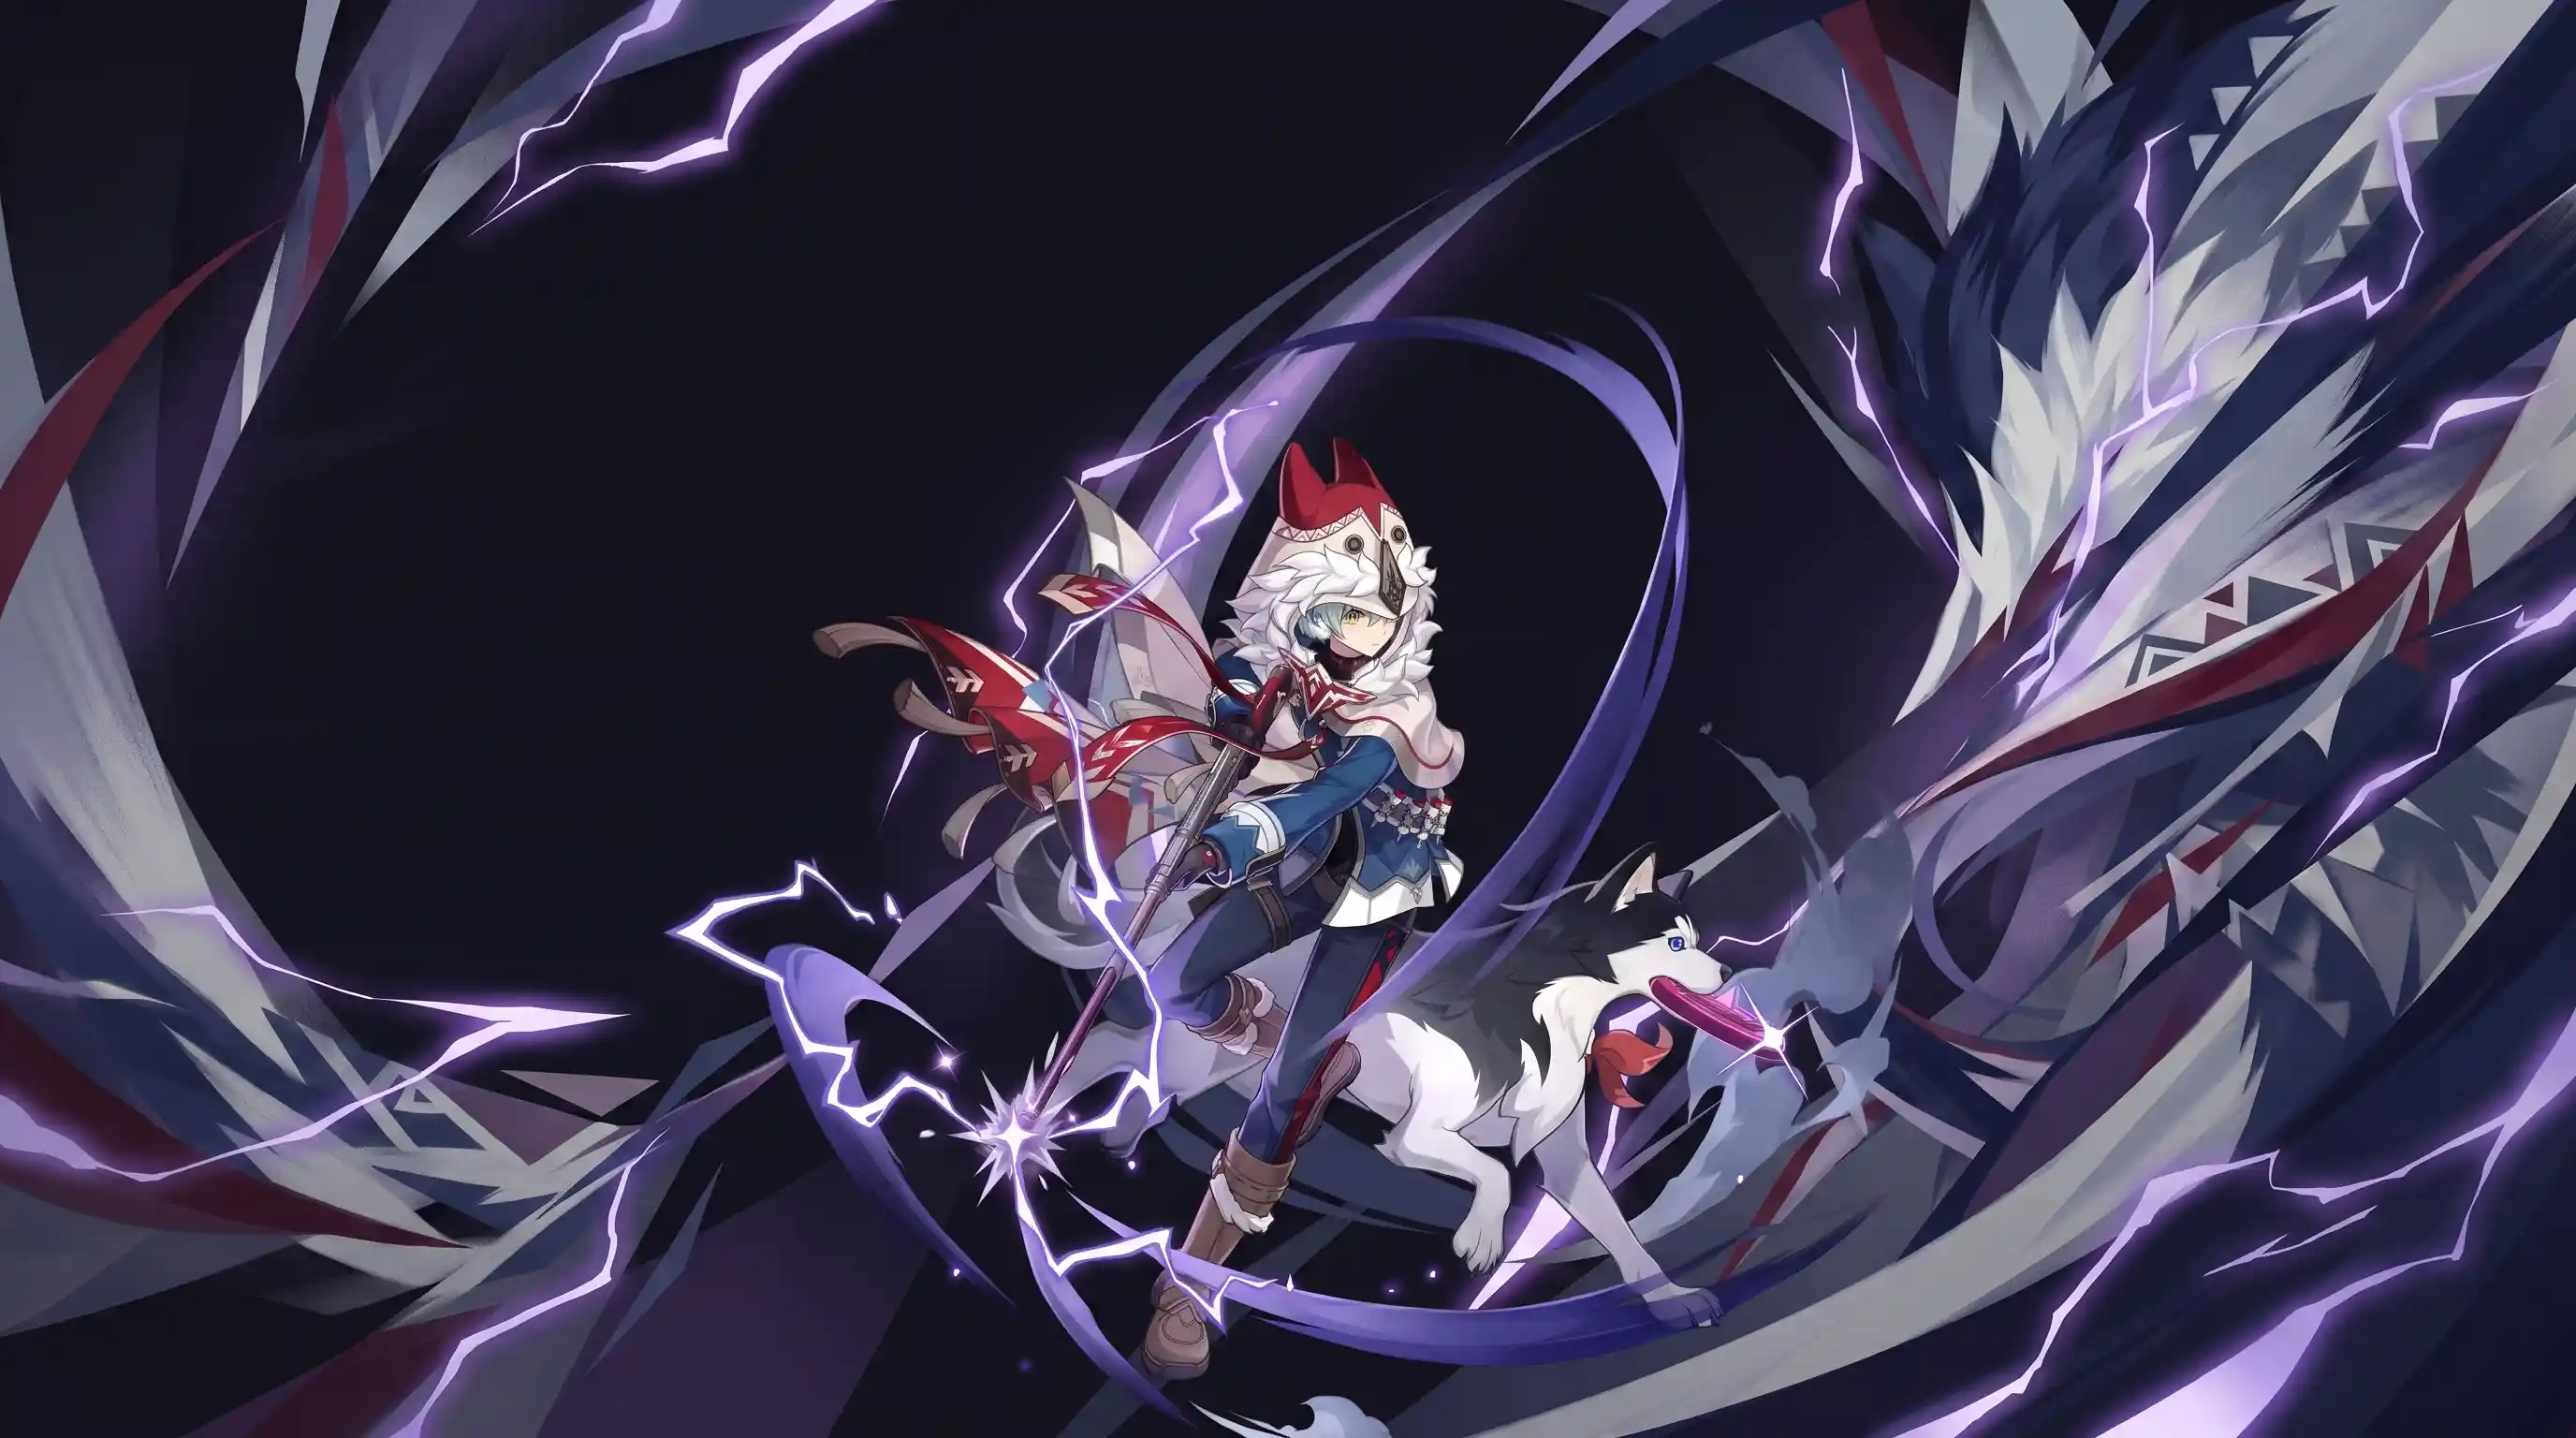
Download Wallpaper
Save this image for personal use only
Key Takeaways
- 70-cost Burst, 18s cooldown, 14s duration. C2 extends to 20s — the biggest breakpoint in his kit.
- 5 Electro particles per Skill cast (instant on hit). Tugarin's coordinated attacks generate zero particles.
- Hunter's Mark gives ATK% to the active character. At C0 you need a normal attack combo to activate it — clunky for a support.
- C6 is the real kit. Mark stacks twice, doubling the ATK buff and adding 100 EM. Without C6, other 4-star supports compete.
- ER ascension (26.67%) + A4 passive converts ER into Skill/Burst DMG: 0.35% per 1% ER, max 70% bonus at 200% ER.
- Free from Snezhnaya story. Getting C6 requires pulling on banners.
What Aliosha Actually Does
Aliosha is a 4-star Electro Polearm character from Snezhnaya. He ascends with Energy Recharge (26.67% at level 90) and fills one role: off-field Electro support for Stellar Conduct teams.
His kit has two moving parts. The Skill (Thunderbolt Strike) hits enemies and marks them with Hunter's Mark for 15 seconds. The Burst (Hunter's Advance) summons his hunting hound Tugarin, who attacks every 2 seconds, deals Electro damage, and activates the mark — granting an ATK% buff to the active character.
The catch: at C0, the mark only activates when Tugarin attacks a marked enemy during his Burst. If you use Skill then Burst without a normal attack combo in between, the mark doesn't proc. This is the central tension of his kit at C0 — you need field time on a support character to make his buff work.
Kit Breakdown
Elemental Skill — Thunderbolt Strike
| Property | Value |
|---|---|
| Cooldown | 15s |
| Particles | 5 Electro (instant on hit) |
| Tap vs Hold | Tap: single target. Hold: cone AoE (slower) |
| Mark applied | 15s Hunter's Mark on hit |
Tap is the default. Hold only when facing multiple enemies and you have the field time. Both generate 5 Electro particles — one of the better particle outputs for a 4-star support.
Elemental Burst — Hunter's Advance
| Property | Value |
|---|---|
| Energy Cost | 70 |
| Cooldown | 18s |
| Duration | 14s (C2: 20s) |
| Effect | Taunts enemies + AoE Electro every 2s |
| Tugarin attacks | Every 2s, applies Hunter's Mark (C2+), heals (C4+) |
The 4-second downtime between Burst end (14s) and cooldown ready (18s) is manageable. With C2, the 20s duration matches the 18s cooldown — permanent uptime.
Passives
A1 — Tugarin heals. Each Tugarin attack restores HP to the active character. The healing is modest but adds up over 14 seconds of continuous attacks.
A4 — ER-to-Damage conversion. Aliosha's Skill and Burst damage increase by 0.35% per 1% Energy Recharge. Maximum 70% bonus at 200% ER. This is a meaningful damage boost — at 200% ER, his personal damage jumps significantly.
The C0 Problem
At C0, Aliosha's buff activation requires a specific sequence: apply mark with Skill, then have Tugarin attack the marked enemy during Burst. The problem is that Tugarin only applies the mark starting at C2. At C0, you need to use a normal attack combo to trigger the mark before using Burst.
This means your rotation looks like: Skill → normal attack combo (to proc mark) → Burst → swap to DPS. That's 3-4 seconds of field time on a support character whose entire job is to buff someone else.
Every content creator who's covered Aliosha mentions this. It's not a niche complaint — it's the defining problem of his C0 gameplay. The fix comes at C2, where Tugarin applies the mark automatically.
Constellations
C1 — Frostvale Thunderclap
When any party member triggers an Electro reaction, Aliosha recovers 15 Energy. Internal cooldown: 18 seconds. This is a flat energy refund — it ignores his ER multiplier, making it one of the most efficient energy sources in the game. Reduces his ER requirements from ~160-180% to ~110-150% with Favonius Lance.
C2 — Howl From Afar
Burst duration increases from 14s to 20s. Tugarin now applies Hunter's Mark before attacking. This is the constellation that fixes his kit — no more normal attack combos, permanent mark uptime, and the buff duration matches the cooldown. If you're using Aliosha, C2 is the minimum target.
C3 — Friendly Call
+3 Skill levels. Increases the ATK% buff from Hunter's Mark. At talent level 13, the buff reaches approximately 25% ATK.
C4 — Harvest the Spoils
Tugarin's attacks now heal the lowest HP party member for 60% of Aliosha's ATK. This turns him from a minor healer into a reliable one — Tugarin attacks every 2 seconds for 14-20 seconds, so you're looking at 7-10 healing procs per Burst.
C5 — When the Nightbird Falls Silent
+3 Burst levels. Minor personal damage increase.
C6 — Standard Reclaimed
Hunter's Mark can now stack twice. At 2 stacks, the active character gains an additional 100 Elemental Mastery. This doubles his ATK buff and adds a significant EM buff — the difference between "decent support" and "best-in-slot for Stellar Conduct." C6 is where Aliosha becomes genuinely strong.
Build
Weapons
| Weapon | Why |
|---|---|
| Favonius Lance | Best general option. ER substat + white particles for the entire team. Solves energy for everyone. |
| Frostbreath (BP) | Gives ATK to Aliosha + flat energy to party on Cryo/Hydro reactions. Stellar Conduct is Cryo-related — triggers the passive. Requires consistent Stellar Conduct procs. |
Any ER weapon works. Favonius Lance is the default recommendation — it's unconditional and benefits the whole team.
Artifacts
| Set | When to use |
|---|---|
| 4pc Noblesse Oblige | Default. 20% ATK team buff after Burst. Ideal when another support holds 4pc Furnace. |
| 4pc Furnace (new 7.0 set) | 50% Stellar Conduct DMG bonus. Use when no one else on the team holds it. Requires Aliosha to trigger Stellar Conduct. |
Main Stats
- Sands: Energy Recharge (safe) or ATK% (more personal damage/healing)
- Goblet: Electro DMG (personal damage) or ATK% (healing)
- Circlet: Crit Rate (especially with Favonius Lance)
Sub Stats Priority
Energy Recharge → Crit Rate → ATK%
ER Requirements
| Scenario | ER Needed |
|---|---|
| Favonius Lance + C1 + Electro teammate | 110-130% |
| Favonius Lance + C1, no Electro teammate | 130-150% |
| Without C1 | 160-180% |
| Stygian Onslaught (safe build) | 200%+ |
Teams
Aliosha is a Stellar Conduct support. He does not enable Stellar Conduct himself — you need Sandrone, Odette, or Cryo Traveler for that. His role is to buff the on-fielder and provide off-field Electro application.
Sandrone / Yae / Odette / Aliosha
One of Sandrone's highest-ER-comfort team comps. C6 Aliosha competes with Escoffier, C6 Qiqi, and Sucrose for the last slot. Without C6, C6 Beidou or C6 Diona deal more team damage.
Sandrone / Odette / Aliosha / C6 Beidou
Yae-less alternative. C6 Aliosha + Odette covers the off-field roles. Beidou adds damage and damage reduction. Works well if you don't have Yae.
With Cryo Traveler
Cryo Traveler's short cooldowns favor 15-second rotations, but Aliosha's Burst has an 18s cooldown. You can extend rotations or burst every other rotation with C2. Usable but not optimal — Chevreuse or Sucrose are simpler picks here.
With Neuvillette (Stellar Conduct)
Aliosha is a usable support but not ideal. Neuvillette wants to control his own HP, and Aliosha's healing interferes with that. Shielders like Nicole or C6 Beidou are better here.
ER QuickCalc Results
Use the ER calculator to find exact breakpoints for your specific team and rotation. Aliosha's 70-cost Burst with 18s cooldown makes him moderately ER-hungry — but C1 and Favonius Lance bring him in line with other 4-star supports.
Check his full stat page at /characters/alyosha for ascension materials, talent scaling, and constellation details.
The Verdict
Aliosha is a functional Stellar Conduct support who gets significantly better with constellations. At C0, his mark activation is clunky and his buff is modest. At C2, the clunk disappears. At C6, he becomes one of the best options for the role.
The free copy from the Snezhnaya story gives you C0. Getting to C6 requires pulling on banners — and with more Electro characters coming in Snezhnaya, his spot may not be permanent.
Build him if: you run Stellar Conduct teams and don't have Escoffier, C6 Qiqi, or Sucrose available. He's particularly valuable in Sandrone teams if you lack Yae.
Skip if: you already have C6 Beidou, C6 Diona, or other established Electro supports. At C0, they'll generally outperform him.
Related Posts

Beidou Build Guide: ER, Weapons & Stellar Conduct
How much ER does Beidou need? 130-180% by team — Taser, Overvape and Aggravate breakpoints, Polaris 8 Energy refund math, and weapon rankings.

Odette ER Guide: 160-180% ER, Best Build & Teams
Odette's ER requirements for every team. 5 Cryo particles per Skill cast, a 60-cost Burst, and the 160-180% ER sweet spot - plus the no-Burst build.

Sandrone Build Guide: 120-140% ER, Weapons & Teams
How much ER does Sandrone need? 120-140% at C0 with an Electro battery — weapon rankings, ATK% vs ER Sands, and Stellar-Conduct teams.
Found this guide helpful?
Support future guides and tool updates on Ko-fi.
Optimize Your Team's Energy Recharge
Use ER QuickCalc to calculate precise ER requirements for your team composition.