8 Hidden Stellar Reaction Mechanics in Genshin Impact
Stellar reactions have hidden mechanics the game never explains. Polestar dragging, gauge double swirls, VV range caps & more. Testing by TarZBlammo.
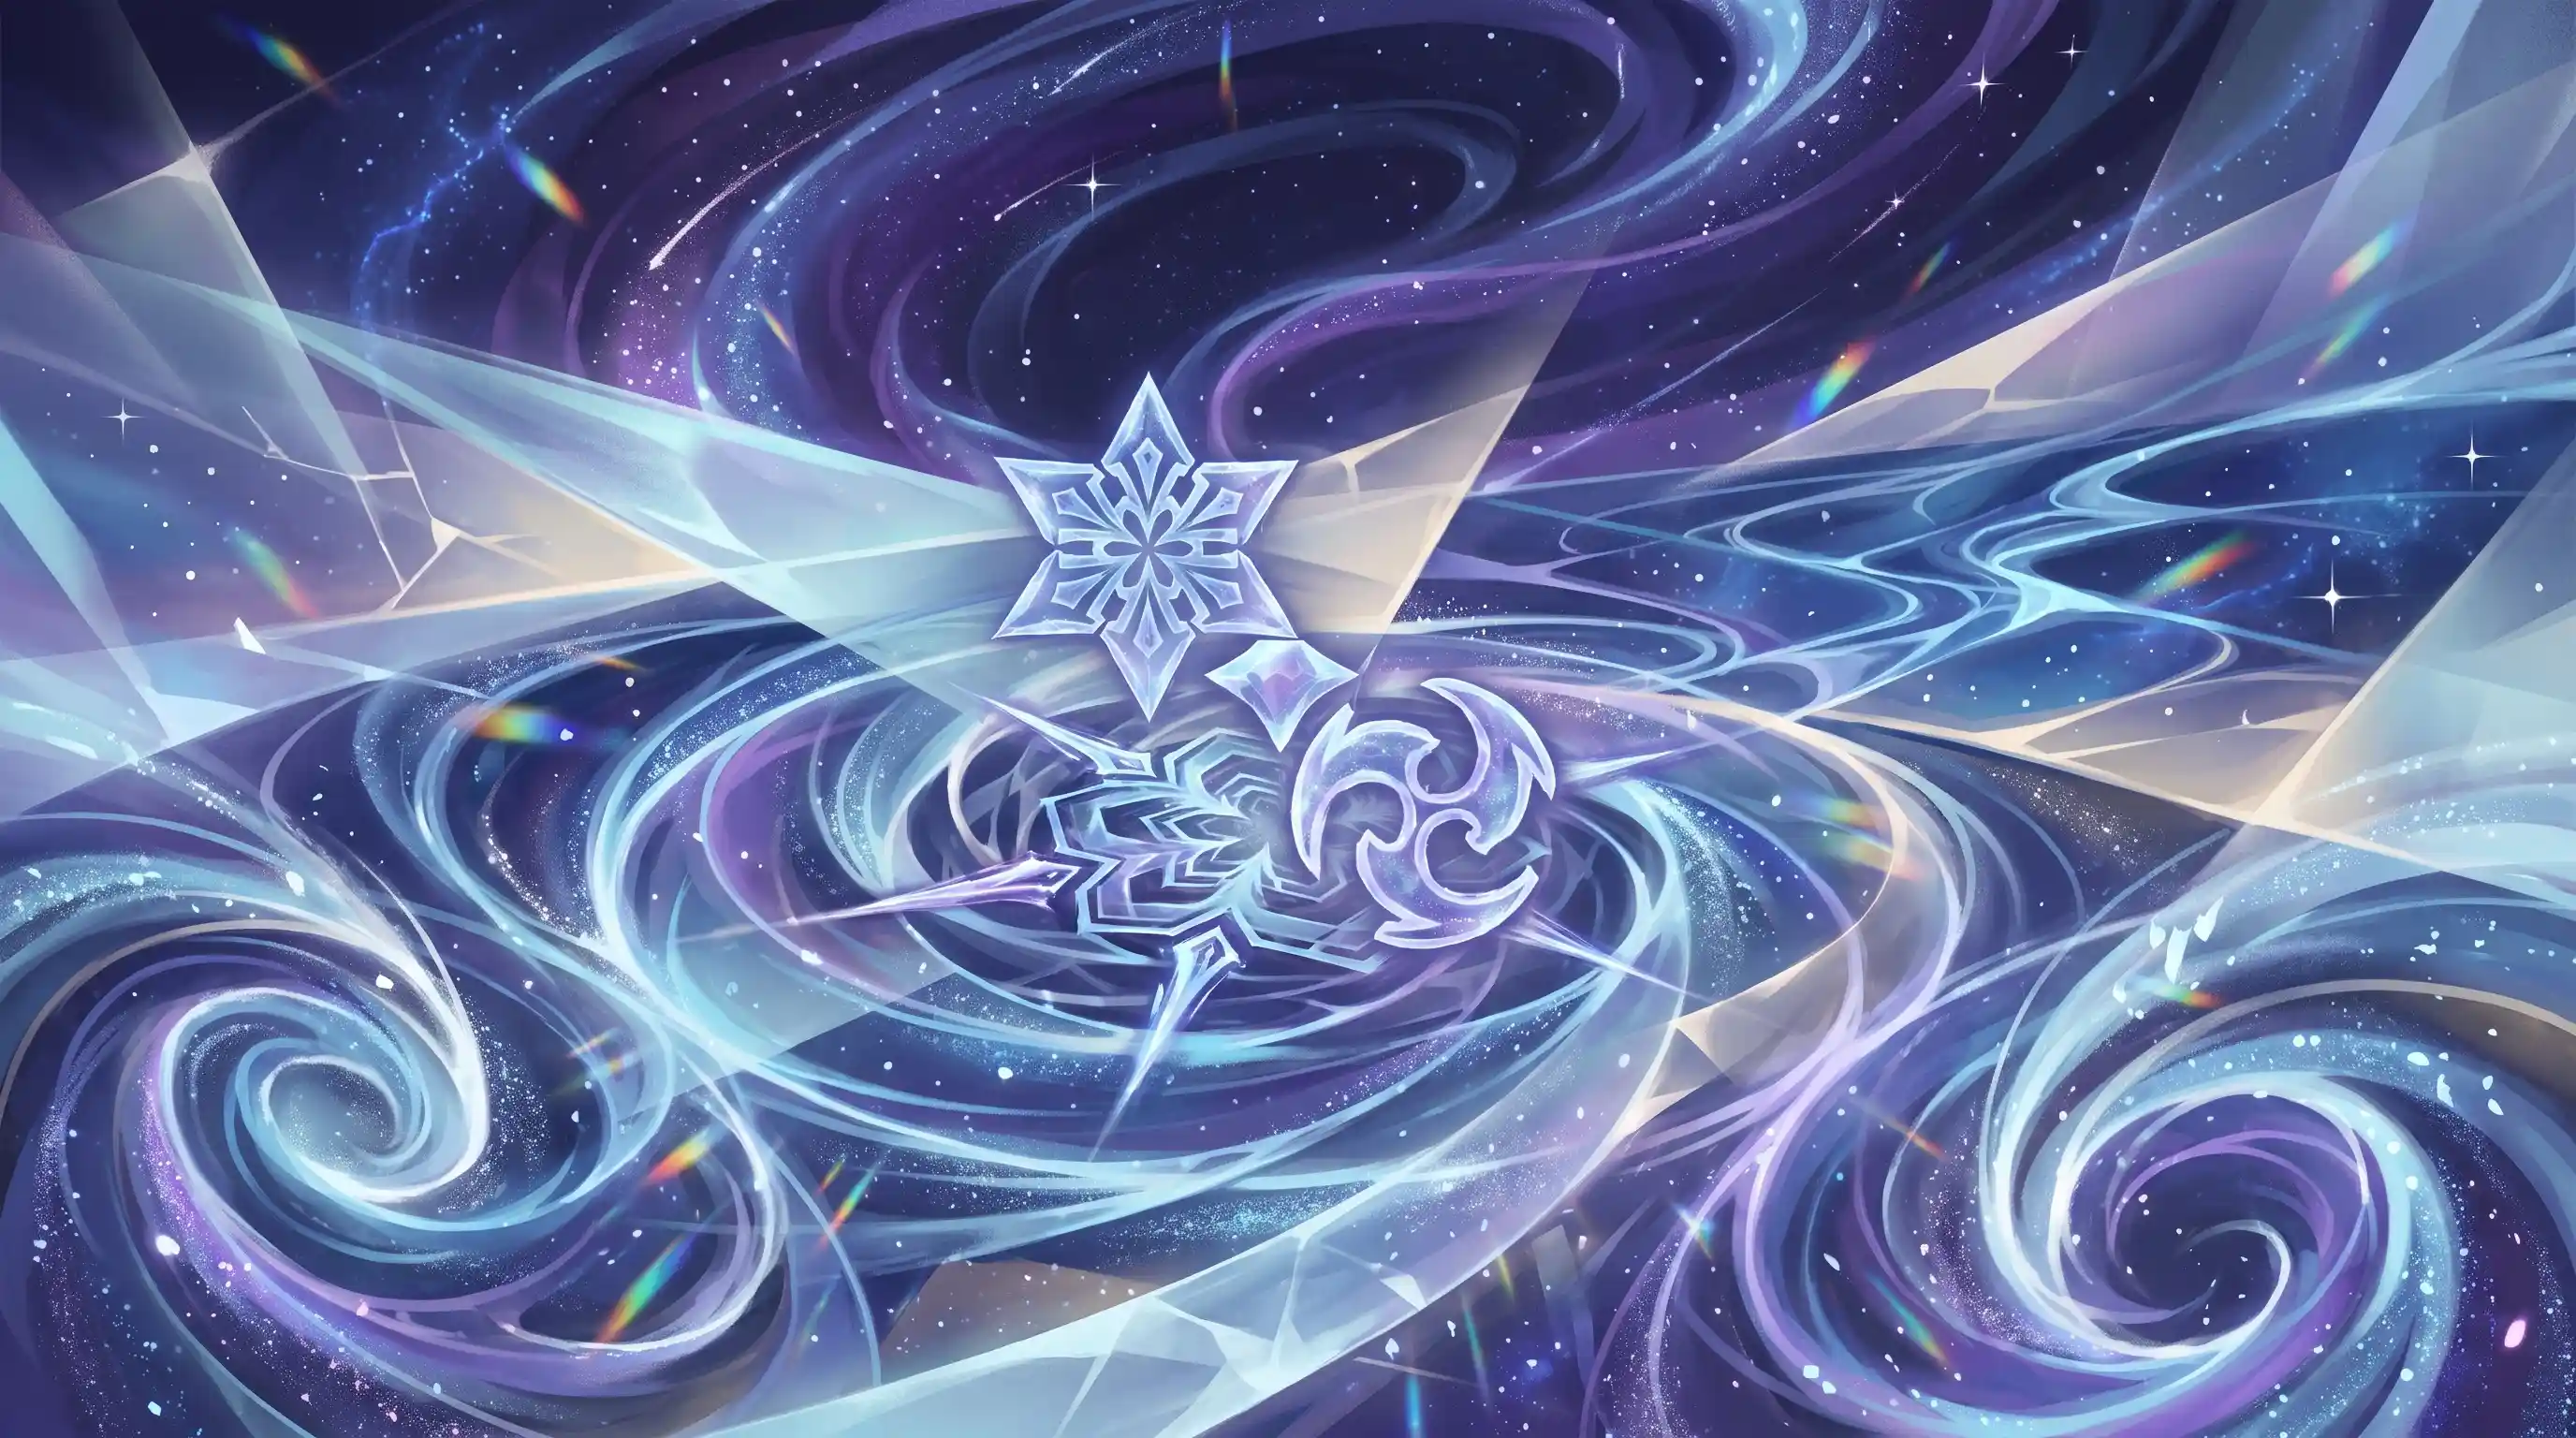
Download Wallpaper
Save this image for personal use only
8 Hidden Stellar Reaction Mechanics You're Probably Missing
Testing and discovery by TarZBlammo - Analysis and writeup by ER QuickCalc
Stellar reactions look simple on the surface. Cryo + Electro = Stellar Conduct. Cryo + Anemo = Stellar Swirl. Stack hits, get buffs, do damage.
But underneath the tooltip text, there are mechanics the game never explains. Some practical, some bizarre, and one that almost breaks the game entirely.
After extensive testing by TarZBlammo, here are the eight hidden interactions that actually matter for team building, rotation planning, and damage optimization in Genshin Impact.
1. Polestar Dragging: Move the Field Without Losing Stacks
When Stellar Conduct triggers, a Polestar Field spawns. The field records Cryo and Electro hits over 4-second cycles, building stacks that increase your damage bonuses.
Normally, if you need to reposition, you'd trigger a new Stellar Conduct and lose all your stacks while waiting through another 4-second recording window.
You don't have to.
If you trigger a new Stellar Conduct within 2.5 seconds of leaving the old field, two things happen:
1. The 4-second recording wait is completely skipped
2. All stacks from the previous field carry over to the new one
The practical impact is significant. Going from 0 to 1 stack is the biggest damage jump in the entire system. Skipping 4 seconds of zero-stack downtime means you're maintaining peak damage output across repositioning.
The field origin rule: The Polestar Field spawns on the entity where the reaction occurs, not on your character's position. Keqing's teleport creates the field at her starting location, not her destination. You control where the field appears by controlling which entity triggers the reaction. That's what makes polestar dragging possible.
2. Not All Hits Count as Stacks
The Polestar Field records Cryo and Electro hits to build stacks. But "hit" has a specific definition here.
| Gauge Application | Generates Stack? |
|---|---|
| 0U (collision plunge) | No |
| 1U | Yes (1 stack) |
| 2U | Yes (1 stack) |
| 4U | Yes (1 stack) |
Attacks with 0U gauge application don't generate stacks. The universal example is the collision plunge: every character has one, and it applies zero elemental gauge.
Any attack with 1U, 2U, or 4U application generates exactly one stack. The amount of gauge doesn't matter. A 1U Cryo application and a 4U Cryo application both count as one stack.
This changes how you evaluate hit frequency vs. hit strength. Multi-hit characters with low gauge application are just as effective for stack building as single-hit characters with high gauge. The field doesn't care about damage, only about whether elemental gauge was applied.
3. Gauge Units Create Double Swirl Instances
This is the most complex interaction in the Stellar system, and the one with the highest damage ceiling.
When you apply Cryo and Hydro in unequal gauge amounts, the enemy ends up with two simultaneous auras. A Freeze aura and a residual element aura. When Anemo swirls this dual-aura target, you get two separate Stellar Swirl instances instead of one.
Here's how it plays out:
| Setup | Result |
|---|---|
| 2U Cryo + 1U Hydro | Freeze aura (Hydro owner) + residual Cryo aura (Cryo owner). Two Stellar Swirl instances: one uses Hydro stats, one uses Cryo stats |
| 2U Hydro + 1U Cryo | Freeze aura owned by Cryo character. Hydro Swirl + Stellar Swirl. The Stellar Swirl damage fully includes Cryo character stats |
| Equal gauge (1U + 1U) | Only Freeze aura remains. Single Stellar Swirl instance. Stats depend on which element was applied second |
Why this matters: Double swirl instances both count toward vortex leveling. Instead of needing 3 separate swirl reactions to max the vortex, you can get there in 2 triggers with the right gauge setup. That's the difference between a level 2 vortex and a level 3 vortex in a single rotation window.
4. The Vortex Levels Up and Then Explodes Immediately at 6
The Stellar Vortex doesn't just sit there waiting to explode. It levels up based on how many Stellar Swirl reactions you trigger before detonation.
| Swirls Triggered | Vortex Multiplier | Detonation Behavior |
|---|---|---|
| 1-2 | 2x Base | Normal 4.5s timer |
| 3-6 | 3x Base | Normal timer |
| 6 | 3x Base | Immediate detonation |
The damage jump from base to 2x is substantial. Going from 2x to 3x adds more, but the real optimization is timing. You want to trigger enough swirls to hit 3x without hitting 6 and forcing premature detonation before your rotation is ready.
Stellar Swirl teams reward patience. The reaction actively punishes rushing to detonate. You want to layer Cryo and Anemo applications during the vortex's lifespan, building toward a stronger final explosion. This is the opposite of how every other transformative reaction works in Genshin Impact.
5. The Perpetual Machine: Theoretically Infinite, Practically Useless
When the Stellar Vortex explodes, it applies 1U Cryo to nearby enemies. If an enemy somehow has an Anemo aura when this happens, the Cryo application triggers another Stellar Swirl. That spawns another vortex. That explodes and applies more Cryo. That triggers another Swirl. And the cycle repeats infinitely.
The setup requires very specific conditions: an enemy with a persistent Anemo aura, a Stellar Linchpin in the party, and consistent Cryo application from the vortex explosions.
Testing showed that the Eye of the Storm enemy, which you'd assume has an Anemo aura, actually doesn't. The loop breaks immediately against real enemies.
Verdict: Fun to watch in a vacuum, completely non-viable in actual combat. The conditions required to maintain an Anemo aura on a living enemy while simultaneously triggering Stellar Swirl reactions are too specific for any real team composition. It's a lab interaction, not a strategy.
6. VV Has a 20-Meter Range Limit
Viridescent Venerer's 4-piece resistance shred has a distance cap of approximately 20 meters. Beyond this range, triggering Swirl or Stellar Swirl does not apply the resistance reduction.
This limitation dates back to version 1.0, when Venti's dominance in Spiral Abyss first revealed the range boundary. Several other artifact sets share this restriction:
| Affected by Range Limit | Not Affected |
|---|---|
| 4pc Viridescent Venerer (res shred) | 4pc Thundering Fury (reaction DMG boost) |
| 4pc Instructor (EM buff) | 4pc Crimson Witch (reaction DMG boost) |
| 4pc Thundering Fury (cooldown reduction) | 4pc Tenacity of the Millelith |
| Electro Resonance | Superconduct |
In practice, this means long-range Anemo supports like Venti need to be within 20 meters of the enemy when Swirl triggers for the resistance shred to apply. The recent VV update also applies -40% Cryo RES when Stellar Swirl triggers, so the range limitation applies to the new reaction as well.
7. Infusion Tricks Create Buff Without Vortex
There's an inconsistency in how Stellar Swirl handles character infusions versus enemy auras.
When Chongyun's field infuses a character's weapon with Cryo, and that character (like Lynette) attacks an enemy, the Stellar Swirl reaction triggers on the character's own weapon rather than on the enemy.
The result: the Stellar Vortex does not spawn, but the Radiance: Stellar Swirl buff is still applied to the team.
This means you can gain the Radiance damage increase without actually creating a vortex. The same behavior occurs with Kaedehara Kazuha's C6 infusion. It's inconsistent with how Stellar Conduct handles the same situation, which correctly triggers on the enemy.
Practical use: Niche. You'd only use this if you specifically wanted the Radiance buff without the vortex's delayed detonation timing. In most team compositions, you want the vortex for its damage, not just the buff.
8. Elevation: The Hidden Multiplier
Damage calculations for Stellar and Lunar reactions include a multiplier called Elevation that most players never see in their stat screens. It's a separate multiplier from DMG Bonus, applied after the main damage formula.
Elevation is exclusively obtained through character constellations:
| Source | Elevation Value | Scope |
|---|---|---|
| Columbina C3 | +1.5% | Party-wide Lunar Reaction DMG |
| Columbina C5 | +1.5% | Party-wide Lunar Reaction DMG |
| Odette C6 | +25% | Party-wide Stellar Glimmer Reaction DMG |
| Odette C6 (self) | +20% additional | Odette's own Stellar Glimmer DMG |
The full damage formula for Direct Stellar DMG incorporates Elevation as its own multiplicative step:
`
Direct Stellar DMG = (Base Coefficient x MV x ATK x Base DMG x Stellar DMG Bonus x (EM Bonus + Reaction Bonus) + Additive Bonus) x Elevation x RES x CRIT
`
At max investment (Odette C6), that's a 25% multiplier on the entire team's Stellar reaction damage. Separate from, and stacking multiplicatively with, every other damage bonus in the formula. For a deeper dive into Odette's build paths, see our Odette ER Guide.
Quick Reference
| Mechanic | What It Does | When It Matters |
|---|---|---|
| Polestar Dragging | Move field without losing stacks (2.5s window) | Repositioning during Abyss rotations |
| Stack Application | 0U = no stack; 1U/2U/4U = 1 stack each | Evaluating hit frequency for team comp |
| Gauge Unit Double Swirl | 2U+1U creates dual auras, dual instances | Maximizing vortex leveling speed |
| Vortex Leveling | 1-2 swirls = 2x, 3-6 = 3x, 6 = auto-detonate | Stellar Swirl rotation timing |
| Perpetual Machine | Vortex chain reaction (1U Cryo, new vortex) | Theoretical only, not viable in combat |
| VV Range Cap | 20m max for resistance shred | Long-range Anemo support positioning |
| Infusion Trick | Radiance buff without vortex spawn | Niche; inconsistent with Stellar Conduct |
| Elevation | Separate damage multiplier from constellations | C3+C5 Columbina, C6 Odette optimization |
What This Means for Team Building
Stellar Conduct rewards hit frequency and uptime. The Polestar Field's stack system scales with how many Cryo/Electro applications you can maintain per 4-second cycle. Characters with fast, consistent elemental application outperform characters with slow, high-damage hits. For ER breakpoint analysis across different team compositions, check our Genshin ER Guide.
Stellar Swirl rewards patience and rotation discipline. The vortex leveling mechanic punishes rushing to detonate. Optimal play means layering Swirl reactions during the vortex's lifespan, building toward a stronger final explosion. This is a fundamentally different rhythm than any other transformative reaction in the game.
Both reactions can coexist in the same team. A Cryo/Electro/Anemo composition triggers both Stellar Conduct and Stellar Swirl simultaneously, though Radiance: Stellar Conduct takes priority for characters that can enter both states.
Recommended Team Compositions
Stellar Conduct Focus:
- Sandrone (enabler + on-field DPS) + Yae Miko (Electro frequency) + Cryo support + flex
- See our Sandrone Build Guide for ER breakpoints
Stellar Swirl Focus:
- Mizuki (Anemo driver, EM scaling) + Odette (Cryo enabler) + Sucrose (EM buffer) + flex
- See our Lynette Stellar Conduct Guide for Anemo support options
Hybrid (Both reactions):
- Sandrone + Odette + Yae Miko + Venti/Sucrose
- Triggers both Stellar Conduct and Stellar Swirl in the same rotation
The game doesn't explain any of this. The tooltips say "trigger reaction, get buff." The reality is a system with layered mechanics, hidden multipliers, and interactions that reward deep understanding over surface-level play.
Testing and discovery by TarZBlammo. Mechanic verification against official game data and community databases.
Related Posts

Genshin 80-90 Cost Bursts: Why You're Energy Starved
30+ characters have 80–90 cost Bursts. Why they struggle, worked examples (Raiden, Yae Miko), and ER targets by team type.

Zibai Without Columbina: ER Independence Guide
Wondering if your carry works without their usual battery? Use this ER independence checklist to spot energy gaps, fix rotations, and get targets fast.

Mitya Without Yae: How Account Investment Changes Character Value
Yae Miko is a personal damage dealer, not a buffer. The more you invest in your other units, the less valuable she becomes. Here is what that means for Mitya, Skirk, and the Stellar meta.
Found this guide helpful?
Support future guides and tool updates on Ko-fi.
Optimize Your Team's Energy Recharge
Use ER QuickCalc to calculate precise ER requirements for your team composition.